
WaterBug/ Water Boatman
DownSouth asked for some help on a waterbug fly. I've heard the water boatman flies (those little critters that you see quickly swimming circles along the surface and under the surface of the backwater of cricks and ponds) called Water Bugs so I'm assuming that's what your talking about D.S. Anyway, I used to tie these with a body of hares ear and a shell back of swiss straw - legs with duck flank. Then I remembered somewhere in my stash of magazines (which my wife cleaned up and put in a place that took me a while to find

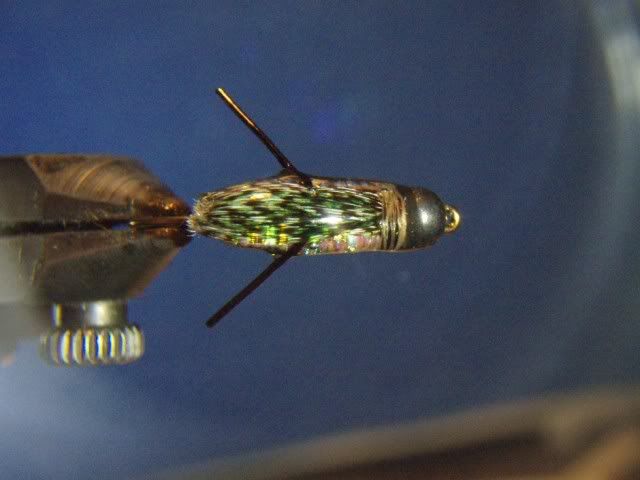
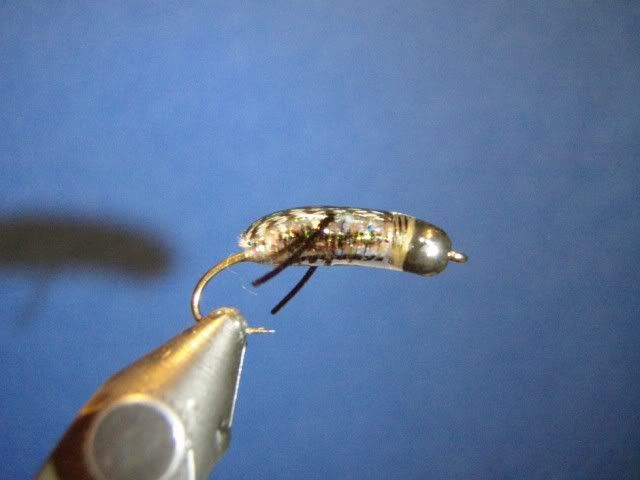
) there was an article in Hatches about the Boatman. So I looked - found the mag and tied it this way - Skip Morris's pattern. If you ever were lucky enough to catch one of these bugs - like Skip mentions they have a "chromelike underside, round head, and thick paddle-like legs". So here's Skip's pattern:
Materials:
Hook: Daiichi 1260 or 1270 straight eye - a turned down eye allow the fly to ride upside down.
Size: 10 - 16
Head: Black metal bead to match hook size
Olive Thread
Under Body: create a flat/wide body using chenille (color of choice)
Body: Pearl Flashabou
Back: Teal feather
Legs: Goose Biots or black tubing
Epoxy
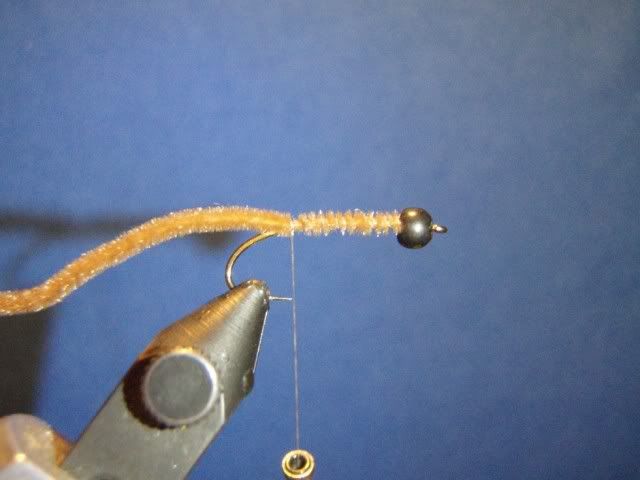
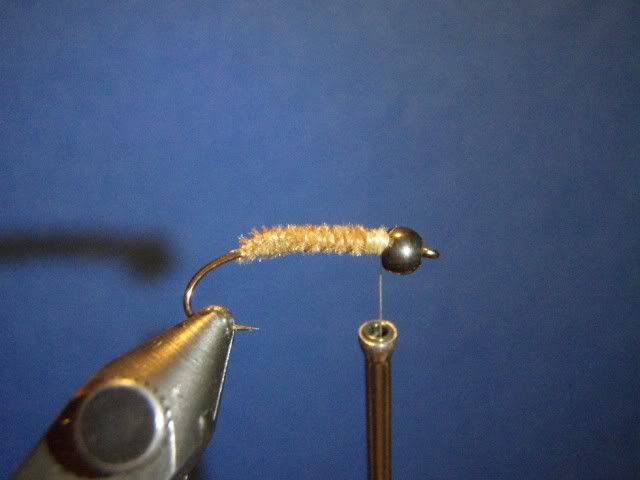
1. Insert bead on hook and start thread just behind the bead. 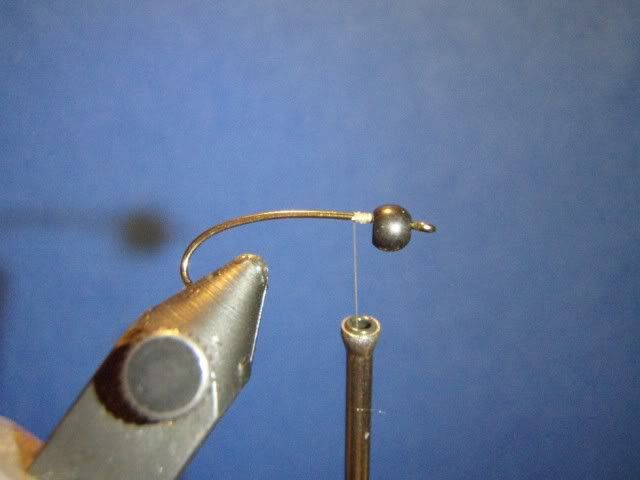 2. Begin shaping the body by tying in a piece of chenille just behing the bead. Wrap the thread down along the hook shank - securing the chenille on the side. Tie in another piece of chenille on the opposite side and repeat...stopping the thread at a point just above the point of the hook. Repeat this process again with two more shorter pieces of chenille. What your doing is creating a flat body when looking from the side and wide when looking from the top down and by using shorter pieces of chenille - a taper is created at the butt. Depending on the size of the hook a third set may be needed to create the body. Build a small "thread base" , at the end of the chenille butts at the hook bend. securing them all.
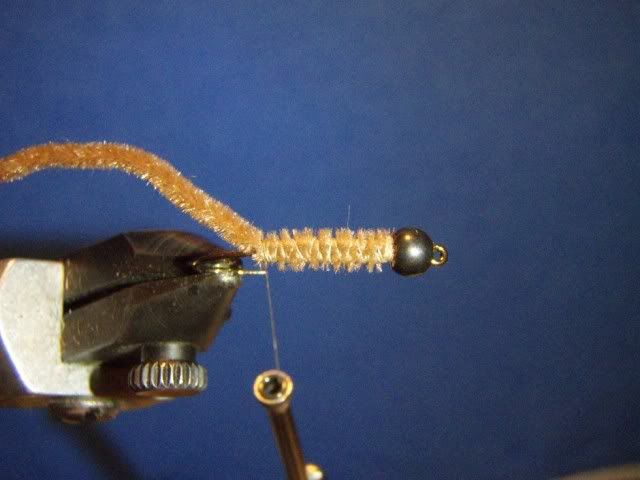
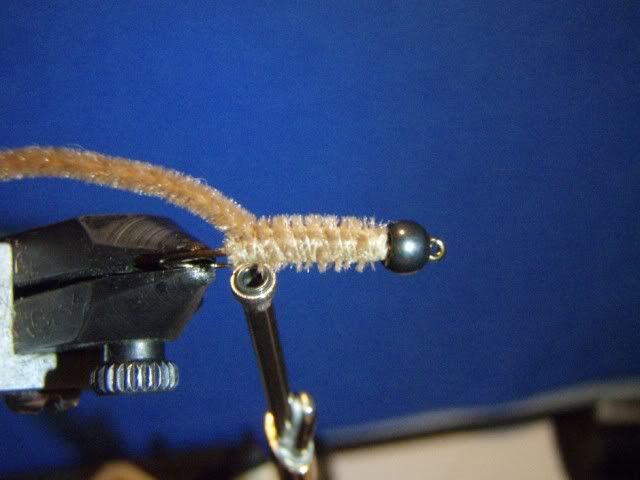 Completed body looking from the side
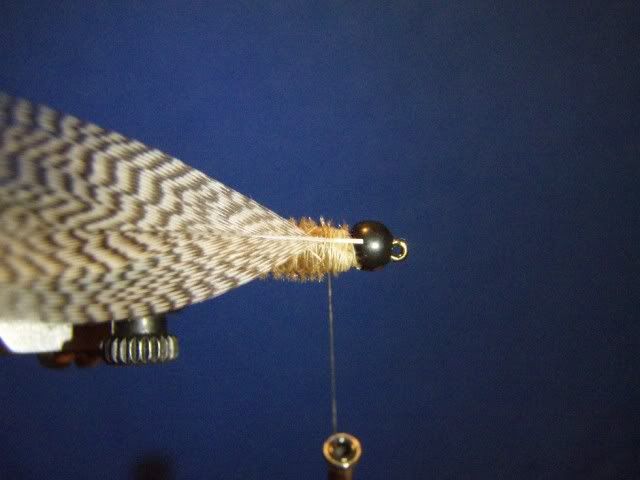
  3. Cut off the top half of a teal flank feather (the stem is thinner here), strip a few of the fibers off the bottom and tie this in just behind the bead. You can tie the stem in long, take a few wraps and gently pull it back so the stem doesn't extend over the bead. Then wrap the thread over the feather, down the shank to a point just short of where the thread base is at the hook bend.
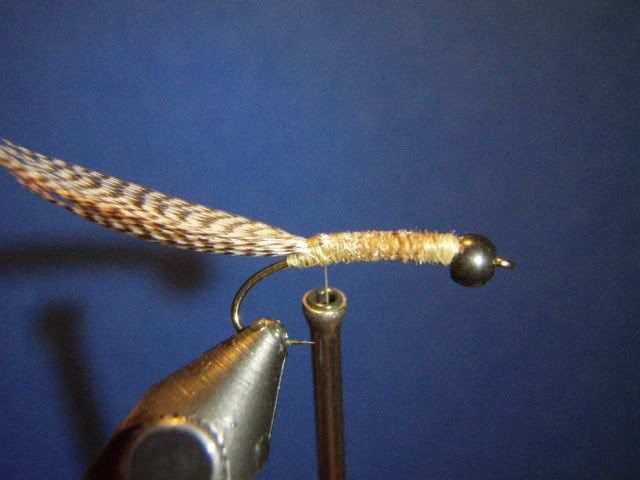 4. Tie in two long strands of Flashabou. Make these as long as you can because you will use it all to cover the body.
 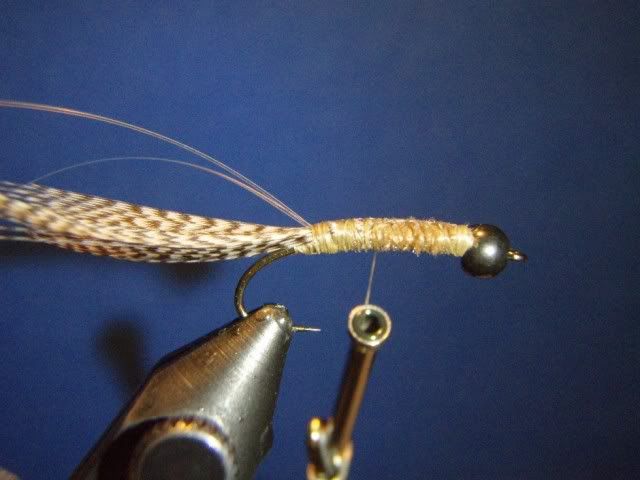 5. Cut a piece of tubing about two inches long and tie it in halfway up the shank - on top of the body, crisscrossing the thread over the tubing. Then pull the tubing forward and take a few wraps over it to keep it out of the way when you wrap the body in the next step.
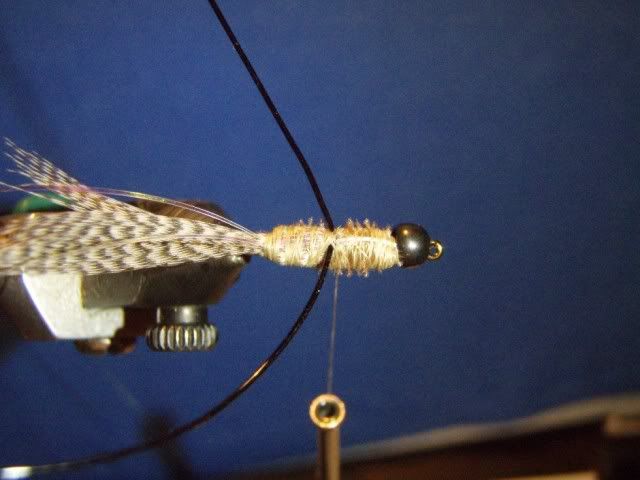
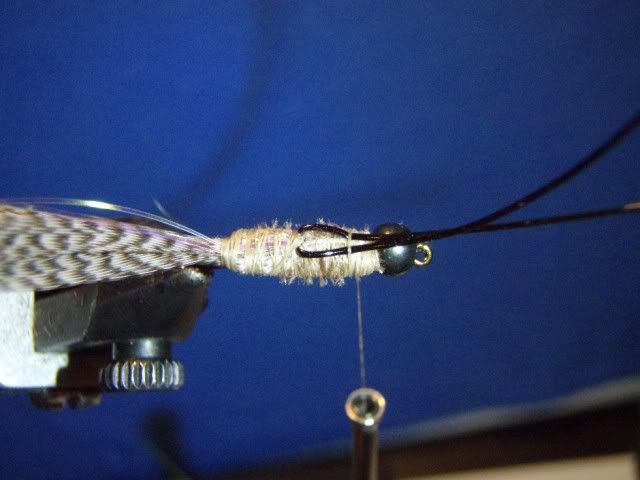 6. Wrap the Flashabou up the body using both strands at the same time. When you get to the legs, you can unwrap the few wraps of thread that you used to keep the legs out of the way and continue forward. Tie off at the bead and trim.
 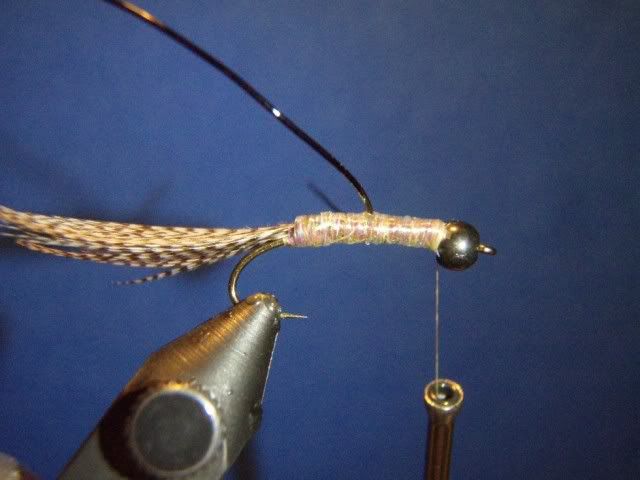 7. Pull the teal feather forward and tie off at the bead. Whip Finish off.
 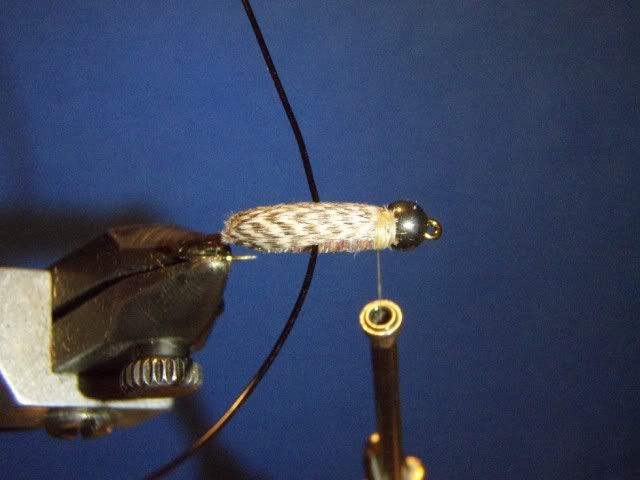 8. Epoxy the entire fly (except for the legs of course) being careful not to use too much. Just enough to lightly cover everything and not affect the hook gap. Trim legs to length.
  Should have been more careful with the wraps of thread at the bead and cover the gaps. Of well - fish won't care... hopefully.
DownSouth - hope this helps ya out.
"They say you forget your troubles on a trout stream, but that's not quite it..... you begin to see where your troubles fit into the grand scheme of things, and suddenly they're just not such a big deal anymore."
John Gierach