Weighted Muddler Minnow
The Muddler Minnow has been around for a long time and there have been many variations of this pattern - I think that's what makes it such a good fly. Imitating a sculpin, one can use many different materials along the way to create a terrific streamer. Being as I love to look up the history of patterns that have been around for a long time - I read that the Muddler has a long history - dating back to 1938 when a fellow by the name of Don Gapen of Minnesota was fishing for brook trout in Ontario, Canada. It's said that after a morning of not much luck with what he was using, he came up with the original pattern of turkey, some floss for the body, squirrel tail, and spun deer hair. His luck changed and - so the muddler came about and stayed with us over all these years. Pretty cool how these patterns of way back are still with us.
Anyway, the last time I tied these was some time ago, and after Trout Man posted the question on here about weighting these - the past few days I got back to tying these for this spring. Again - it's all personal preference on what you use to weight this pattern - some use coneheads and others use wire wrapped on the body. Personally, I like to wrap the body but that's just me.
The muddler can be a tricky tie as there's alot going on with it. Hopefully, this tute will help someone out. A few things though - The pattern calls for a tinsel body - here I use a floss body with tinsel spaced through it as Mr. Gapen tied it. Again - all personal preference.
Materials and Tools: 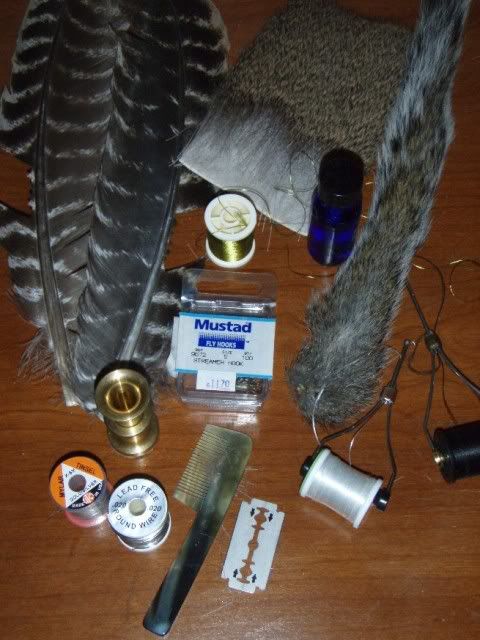 1. To start, - especially when I'm weighting the fly - I use GSP thread. It wraps a nice underbody and covers the round wire used for weight. Start the thread approx 1/4 of the way back from the eye and wrap to the rear of the hook.
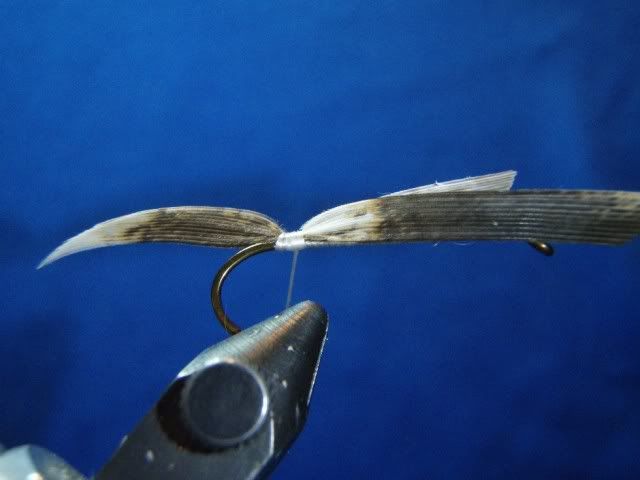
 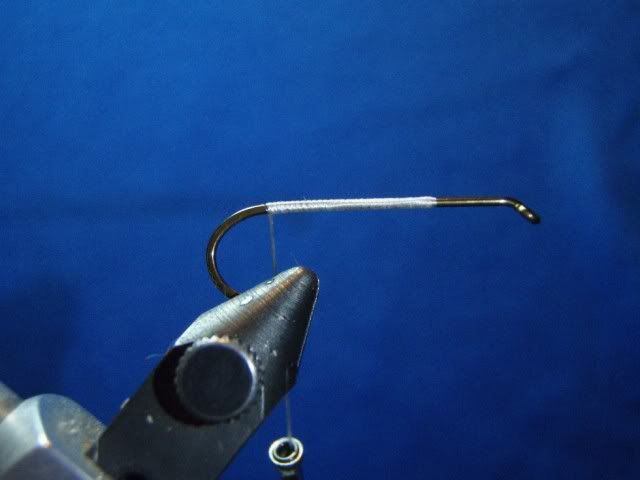 2. Select and cut two even slip of turkey - one from a right hand feather and one from a left hand feather. Match them up and with the tips turning down, tie them in using the pinch thread method.
 (Bring the thread up between the tips of your fingers while holding the turkey in place, pinch the thread, take one wrap on the hook shank and pull up, tightening the thread.) This ties in the turkey stright down on the hook shank.
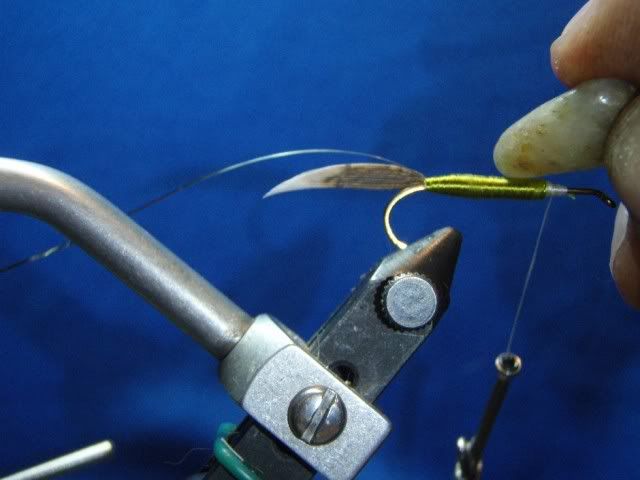
 3. Wrap back towards the eye, securing the turkey and trim off. Only wrap to just past the point of the hook.
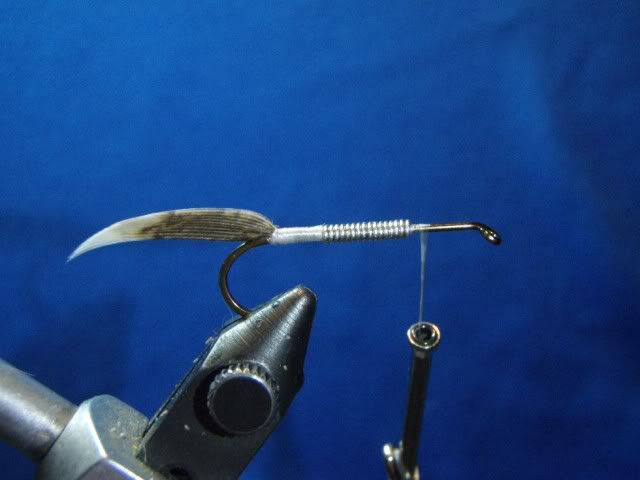
 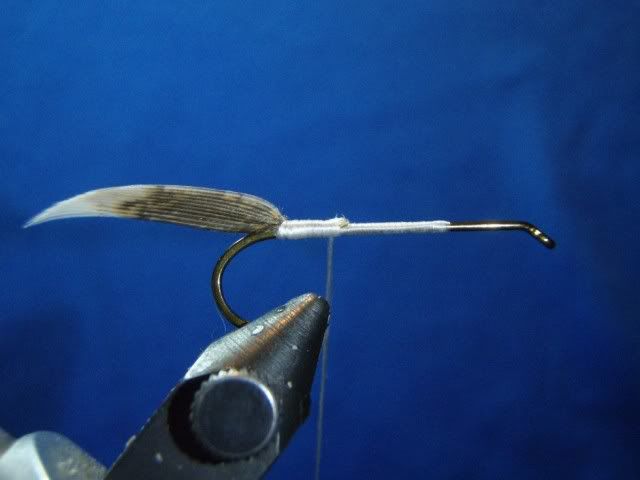 4. Advance the thread up to the starting point and wrap on the lead free wire for weight. By using .020 size wire, the bump created where the turkey tail was trimmed is evened out. When you trim the wire for length - cut it on an angle/point so there isn't a "bump" at the ends of the wire. Cover the wire with thread wraps back to the rear. Try and taper the body as shown. By using GSP thread there is a smooth base on which to apply the floss or tinsel.
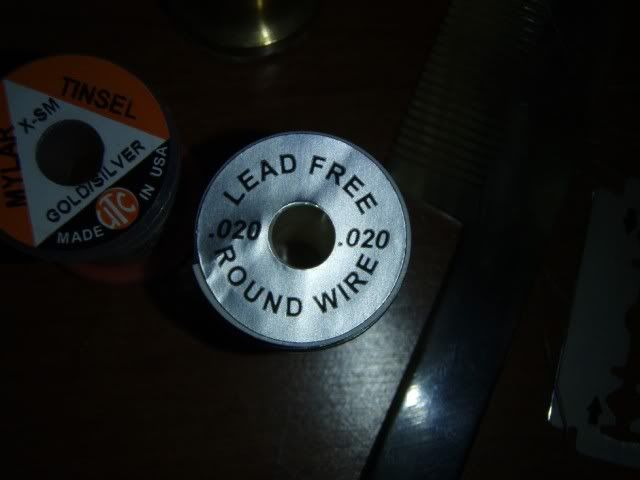
 5. Tie in the tinsel at the rear, move the thread to the starting point at the front and tie in a single strand of floss.
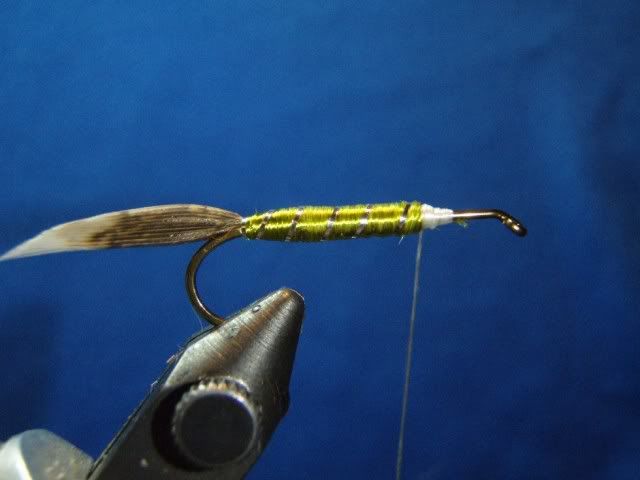
 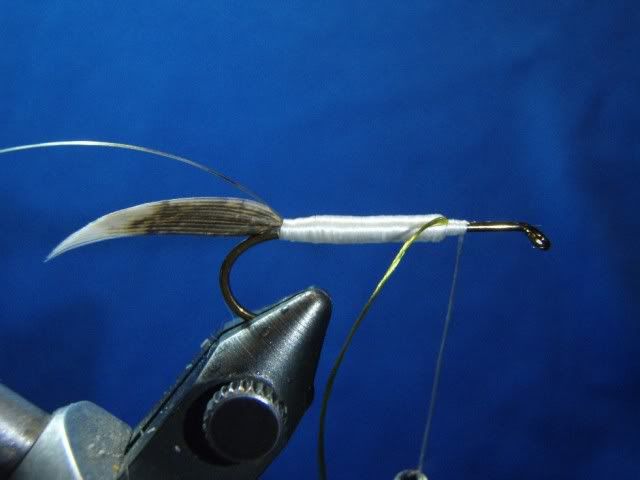 6. Wrap the floss to the rear and back to the front again. Tie off. If you want you can take the time to smooth out the floss by gently rubbing it with a polished stone. Then wrap the tinsel forward evenly and tie off.
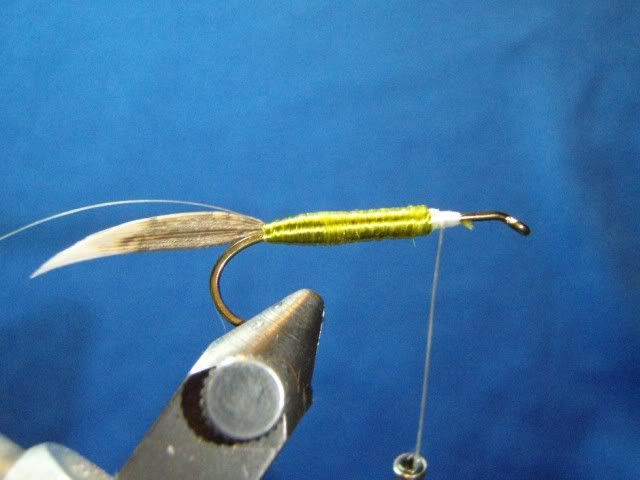
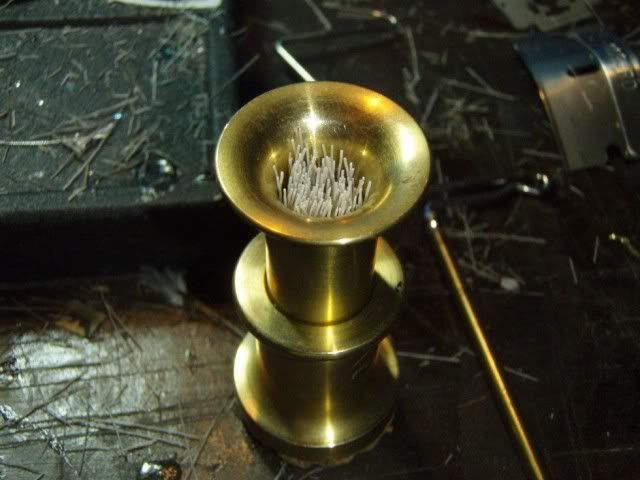
 7. Take a sparce amount of squirrel tail, stack it in a hair stacker and tie in. Prior to tying it in, put a small amount of head cement on the hair where your going to tie it in. Squirrel tail is slippery and can tend to pull out if you don't do this. Tie this in while the cement is still wet as it will then soak into the thread and secure it. Trim off.
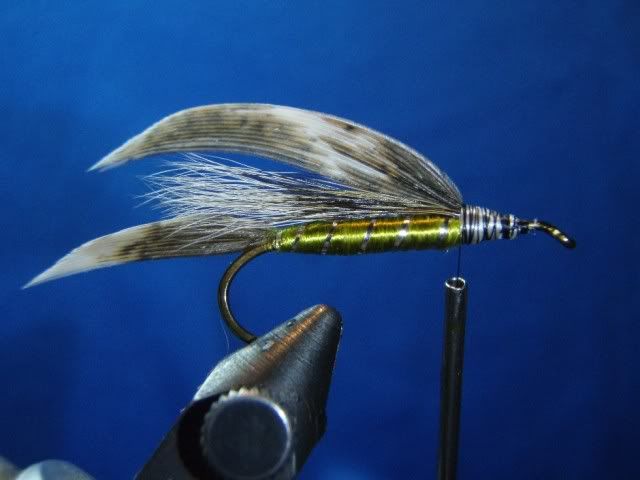
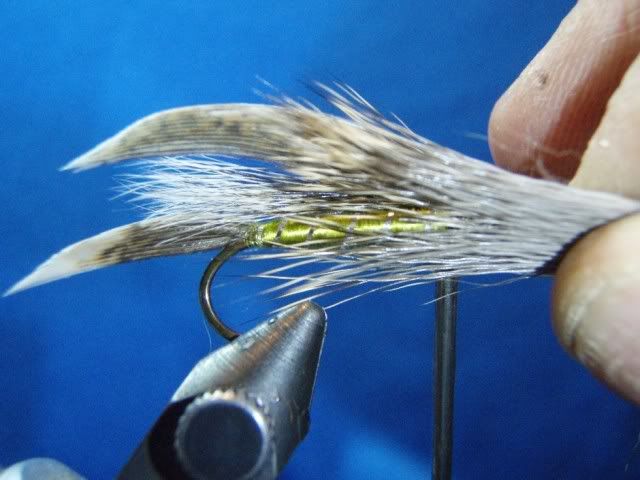
  8. Cut two even slips of turkey for the top wing, ,match them up and tie these in as described in Step 2. For length - match the downward angle to the tail. Trim off and cover with thread. Whip Finish off the GSP, then switch to 3/0 black thread for tying in the deer hair. Move this thread to the base of the tie in point of the top wing.
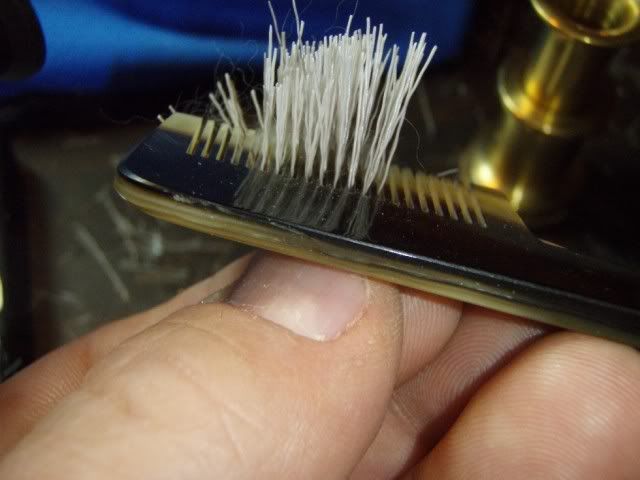
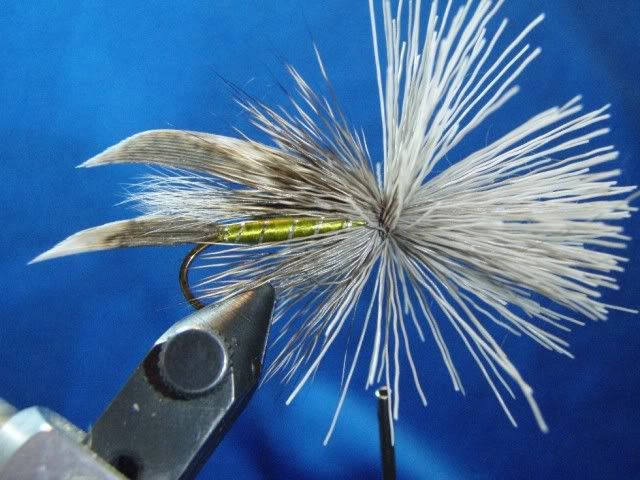
 9. Cut a clump of deer hair off the hide, comb out the underfur, stack it in a hair stacker and tie it in.
 Here many tiers spin this hair around the shaft which is fine but I don't think it's really necessary. You can simply cover the hook shank evenly with the clump of hair and tie it in - holding it it place while tightening the thread which prevents it from spinning.
 10. Trim off the butt ends closer to the head of the fly. This allows you to better see the hair tips later on when you finish trimming and forming the head. Otherwise - these butt ends would be flared back over the tips.
 Just one more step but for me - it helps out later on.
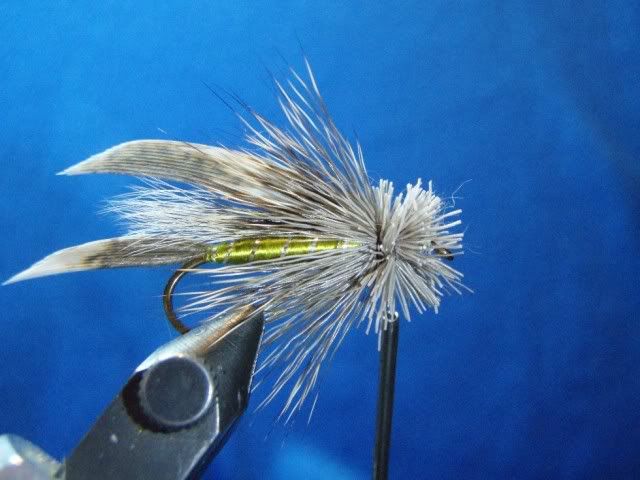 11. Cut another clump of deer hair from the hide and comb out the underfur. No need to stack this clump. Cut off the tips. Hold this clump on top of the hook shank in front of the hair you just tied in. Take 2 wraps on it, and while pulling up on the thread, let go of the hair. As the hair spins around the hook, follow it with the thread, securing it on the hook shank. If you've never spun deer hair - this can get some getting used to. It may help to try this on a bare hook prior to tying this pattern.
 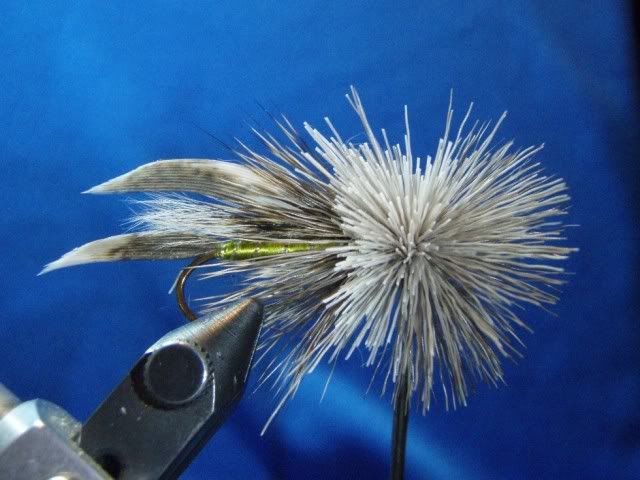 12. Wind the thread through this clump of hair to the eye and expose the eye for whip finish. You should be able to "pack" the hair to the rear by using a hair packer or just using your finger tips tip "push" it back a bit. Whip Finish off.
 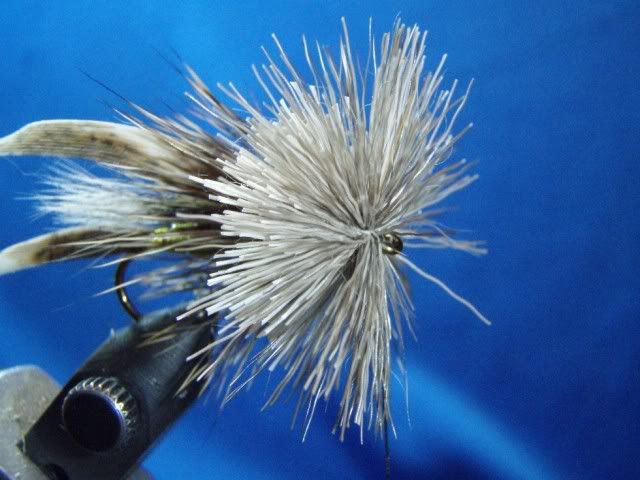 13. Using a double sided razor blade and being careful not to cut your fingers
  (been there/done that) trim the head of the muddler.
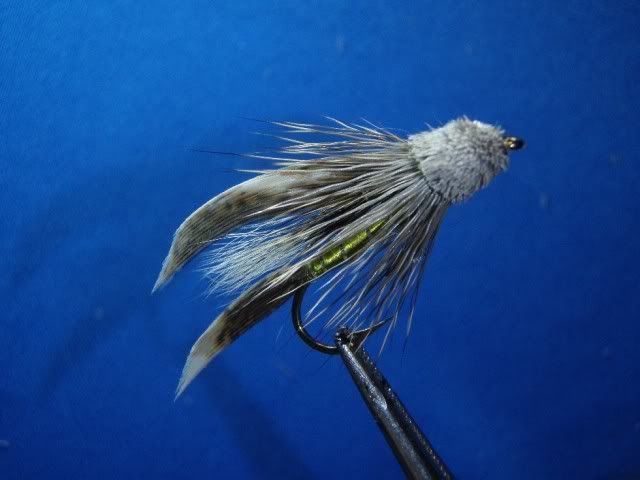
 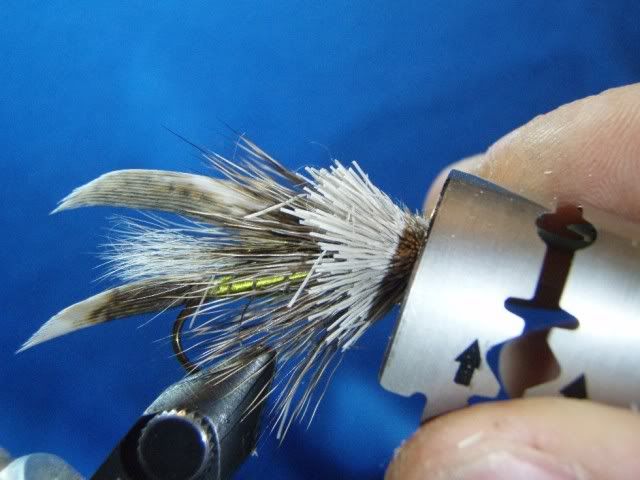 And there you have it..........
 Again - many different variations of this fly. Hope this helps!
post edited by steely34 - 2011/03/13 11:11:29