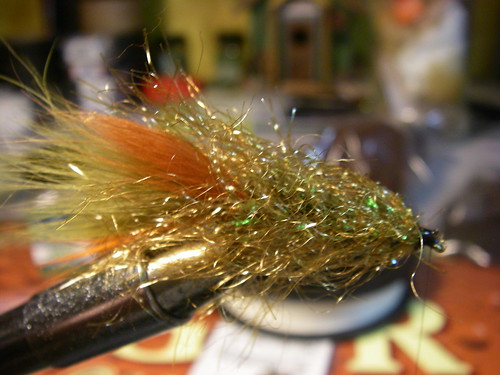
J.W. No Kick Sculpin (Articulated)
Been playing around with this pattern for a couple weeks and I think I am finally done tweeking it.....I will be doing a trial run on the Little J this weekend and we'll see what the brownies think of it.
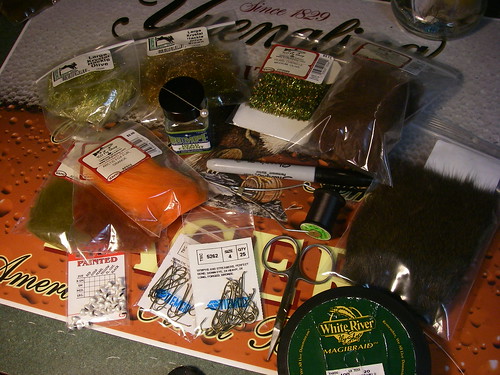
Material List: Back Hook-TMC 300 Size 14, Front Hook-TMC 5262 Size 4, 3 colors of Artic Fox Fur, 2 colors of Large Krystal Hackle, 1 color of Medium Pearl Chenille, Large Lead Eyes, Sculpin Wool, Deer Hear, and Backing.
Rear Hook:
Step 1: I use 3 different colors of Artic Fox Fur, Olive and a Rusty Brown make up the bulk of the tail with a bright Orange streak on the top of the tail fin.....I have noticed that large live sculpins tend to have these bright orange marking on the "J"
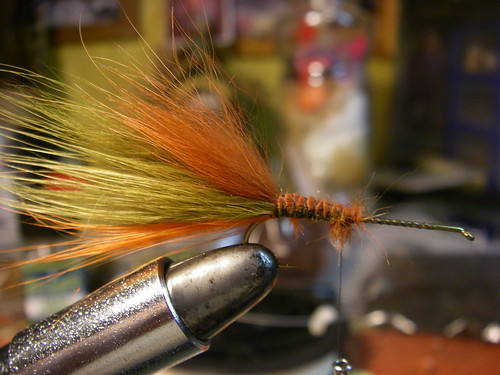
Step 2: Tie in a piece of Large Krystal Hackle (Rootbeer shown) and a piece of Medium Pearl Chenille (Olive shown). Wrap the Chenille to the front of the hook followed by the hackle...be shore to pull the hackle back as you wrap. Tie off and glue...
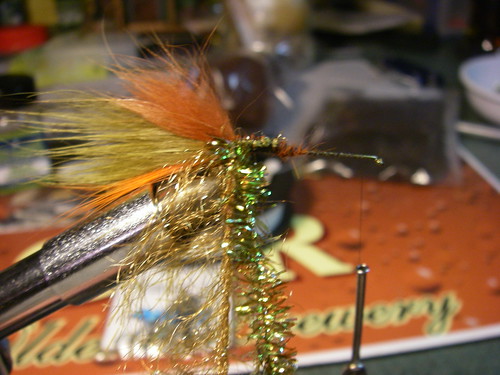
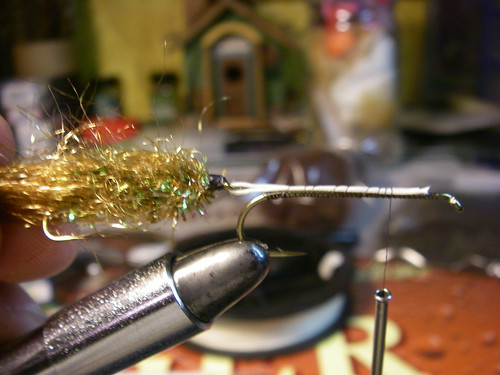
Front Hook:
Step 1: Thread a piece of backing through the eye of the rear hood and tie in. Be sure that the hooks are lined up the same way and keep in mind that at this point the fly is upside down in the vise.
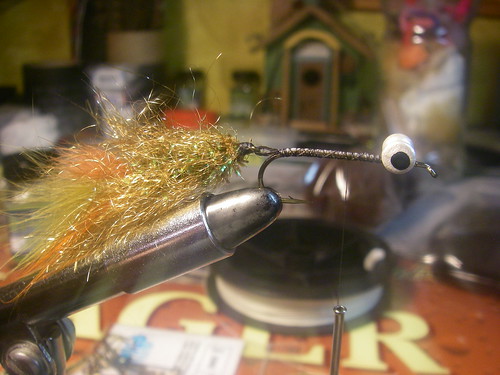
Step 2: Tie in Lead Eyes and apply a good coat of glue.
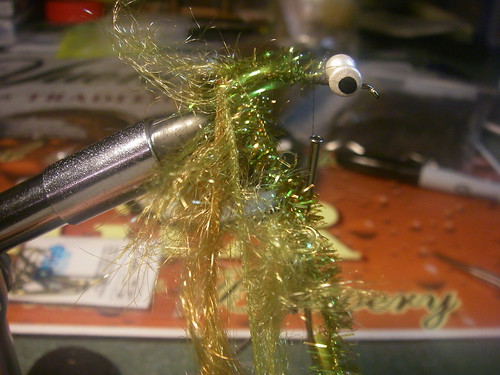
Step 3: Tie in two pieces of Large Krystal Flash (Rootbeer and Olive Shown) and one piece of Pearl Chenille (Olive Shown). Wrap Chenille toward the front of the hook followed by the Krystal Hackle holding the hackle back as you wrap. Be sure to leave some room behind the eyes.
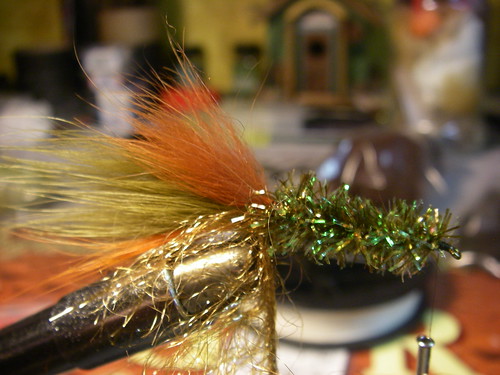
Step 4: Tie in a clump of Deer Hair (Brown Shown) on the top and bottom. Be sure that the hair fans out and covers all around the fly.
Step 5: I like to make the pectorial fins rather large, again like the tail fin, Olive and Rusty Brown Artic Fox Hair make up the bulk of the fin then adding a Bright Orange Highlight..Thing to remember here is the orientation of the fly. I like to tie the fins on the bottom of the fly pulling them out to the sides as I secure them.
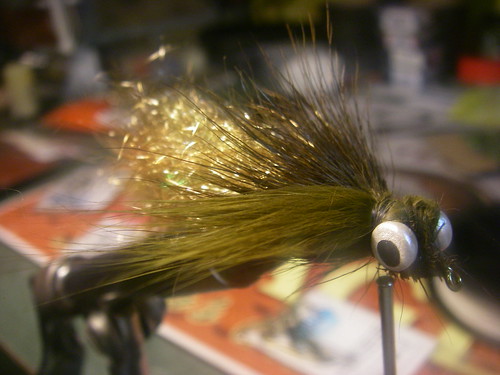
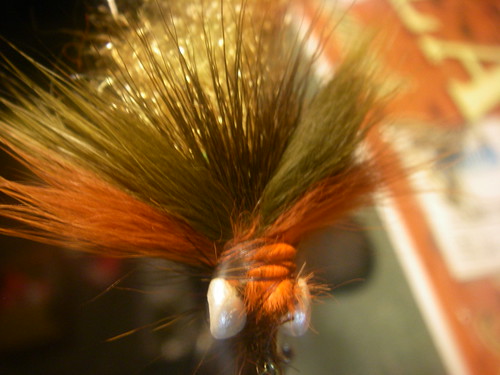
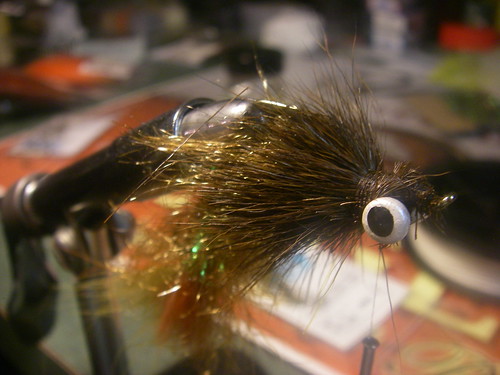
Step 6: For the Dorsal Fin I like to tie in a nice size clump of the Bright Orange.
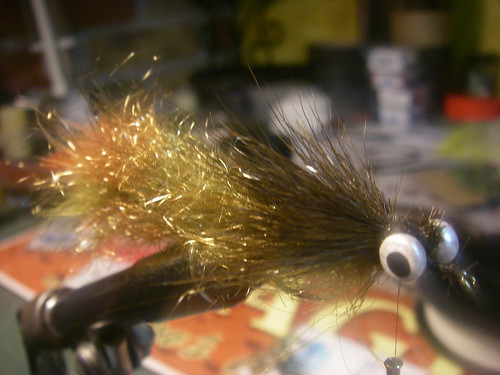
Step 7: Apply a fair amount of glue to the head of the fly. Then dub on some Sculpin Wool (Brown Shown) and tie off.
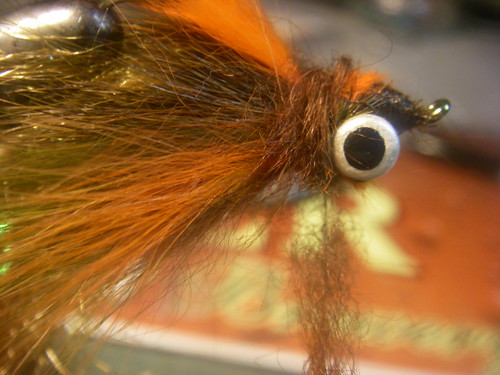
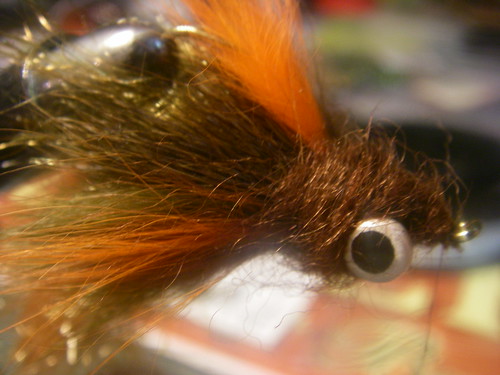
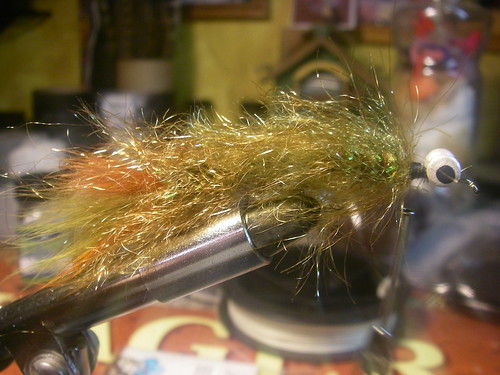
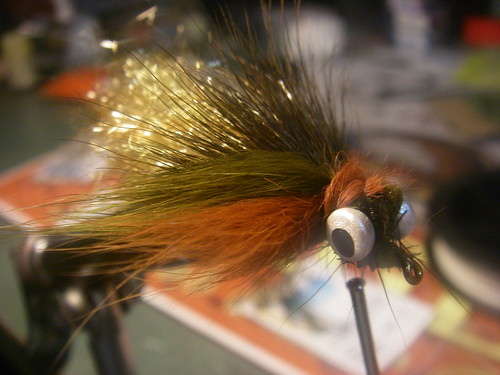
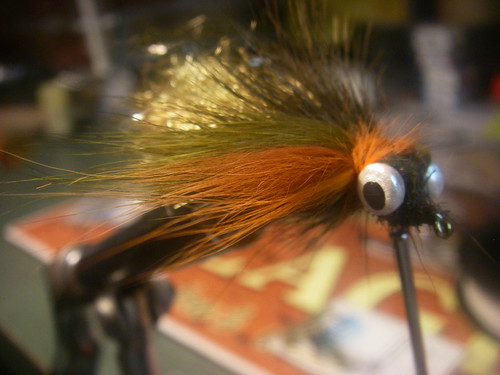
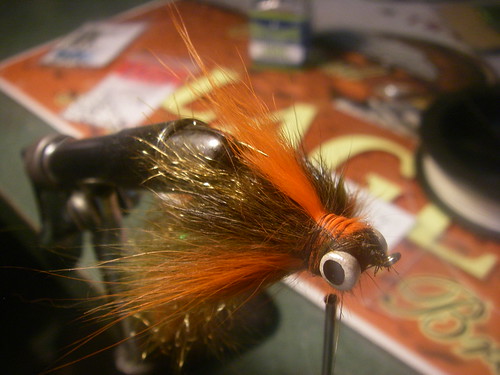
Finished Fly........


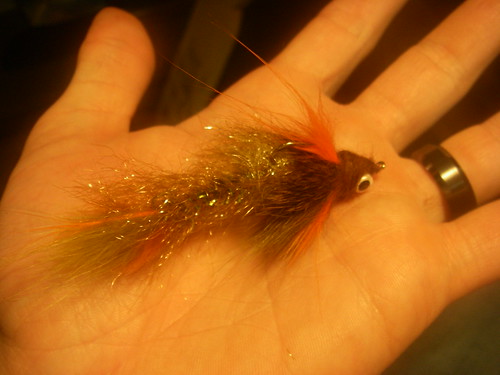
Later.....
post edited by Sculpin 14 - 2010/01/14 00:04:43